Mastering Z-Shell: A Comprehensive Guide to the Coolest Terminal
Written on
Chapter 1: Introduction to Z-Shell
Getting your first job is a significant milestone! After months of dedication on Upwork, I realized it was time for a change. In the winter of 2016, I landed a position at a prominent European bank, and I felt incredibly fortunate. The team was friendly, and the work environment was laid-back. Surprisingly, a full-time job turned out to be quite enjoyable.
Every team has its standout member, and in ours, that was Kevin. He was the epitome of cool, using trendy terminology and tools while coding effortlessly. One thing that struck me immediately was his impressive terminal setup. Whenever he showcased code on his laptop, I couldn't help but feel a mix of envy and admiration for his terminal's aesthetics.

Chapter 2: What is Z-Shell?
Kevin was utilizing Z-Shell (Zsh), an enhanced version of the Bourne Shell (sh), which offers a plethora of features and supports plugins and themes. If you're familiar with Bash, transitioning to Zsh should be a breeze. Oh-My-Zsh, on the other hand, is a repository filled with extensions that enhance Zsh's functionality. With it, you can achieve a visually appealing terminal equipped with autocompletion, syntax highlighting, and much more. For instance, typing "google how to cook an egg" will launch Chrome and search for that phrase.
Watch this beginner's guide to Zsh and learn how to get started with this powerful shell!
Chapter 3: Installation Process
If you're on a Mac, consider using iTerm2 as your terminal emulator. Installing Oh-My-Zsh is a straightforward process:
Using curl:
Using wget:
Once installed, you'll want to enhance your terminal experience with some nifty features.
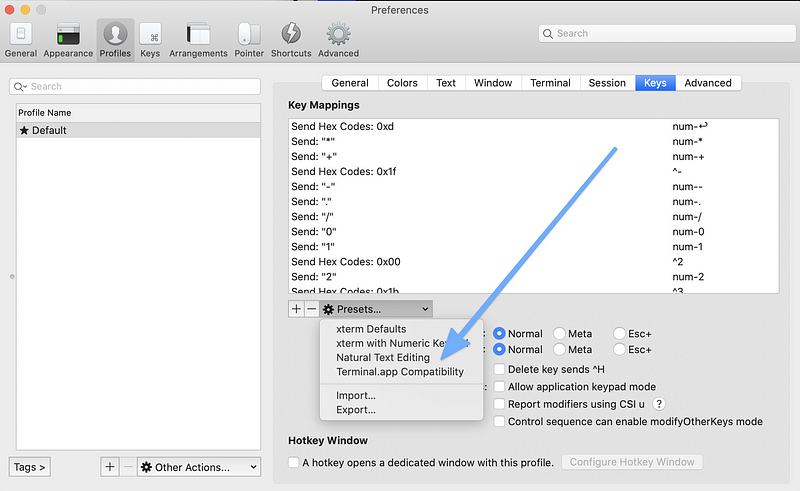
Section 3.1: Natural Text Selection
If you're using iTerm2, enable natural text editing. This feature allows you to navigate in the terminal much like you would in a text editor. Use the alt/option key to jump between words and cmd/ctrl to move to the beginning or end of a line.

Section 3.2: Autosuggestions
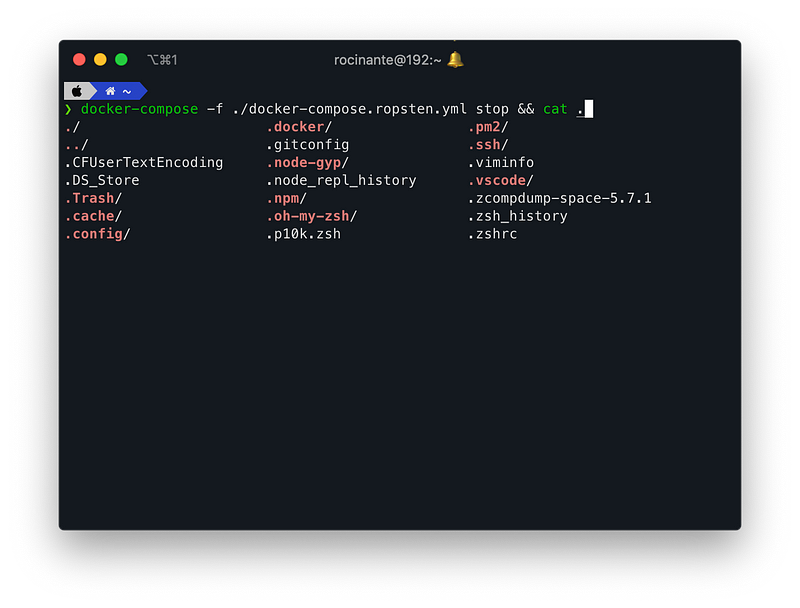
Autosuggestions provide real-time command suggestions as you type, making your workflow smoother.
To install:

Section 3.3: Syntax Highlighting
Syntax highlighting makes it easier to read and identify commands and executables as you write them. To install it via Homebrew:
brew install zsh-syntax-highlighting
If you prefer not to use Homebrew, follow the installation instructions on the GitHub page. After installation, add the following line to your .zshrc file:
source /usr/local/share/zsh-syntax-highlighting/zsh-syntax-highlighting.zsh
Don't forget to reload your configuration:
cd ~
source .zshrc

Chapter 4: Powerlevel10k Theme
Among the various themes available, I highly recommend Powerlevel10k. It’s not only fast and simple to install, but it also comes with numerous built-in functionalities.
Installation can be found here:
Link to Powerlevel10k installation
Chapter 5: Exploring Plugins
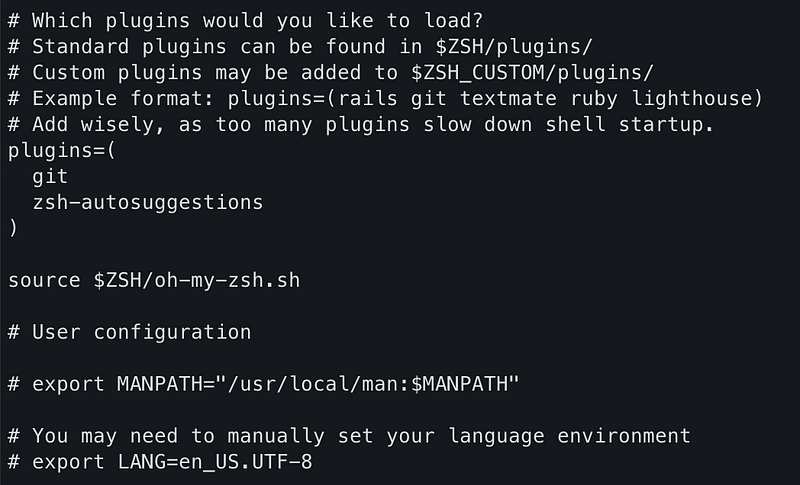
One of the standout features of Zsh is its plugins. The git plugin comes preinstalled, but you can add many more to enhance functionality. Personally, I have git and autocompletion enabled.

To explore hundreds of additional plugins, check out:
Link to Oh-My-Zsh plugins repository
Conclusion
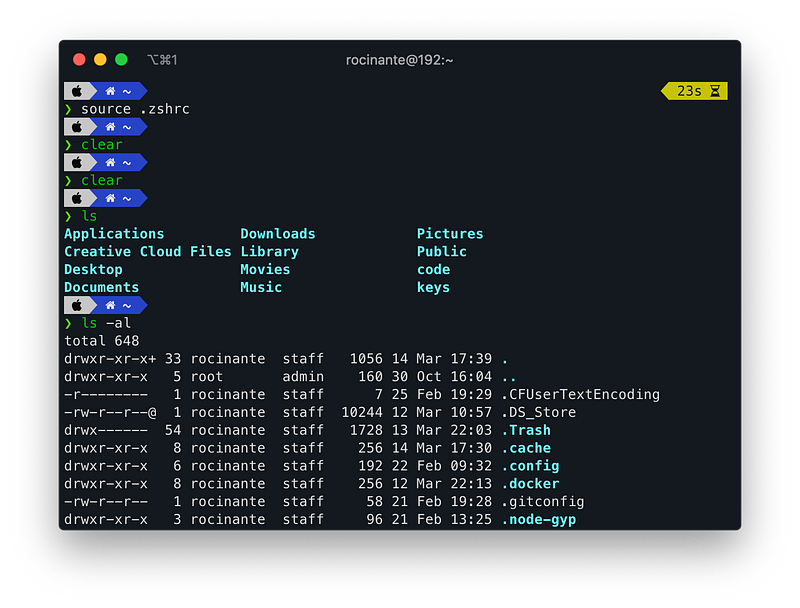
And there you have it! Your terminal should now look something like this:

Keep in mind, the aesthetics will depend on your terminal's color scheme. Feel free to customize it according to your preferences by adjusting colors and themes.
What’s Next?
I hope you found this guide helpful! For further insights into my journey in software development and entrepreneurship, feel free to follow me on Twitter.